1. If you already have a Windows Vista installation, you can upgrade it directly by inserting the Windows 7 DVD while Vista is running. Otherwise, skip to step 6 to begin the process from a clean boot.
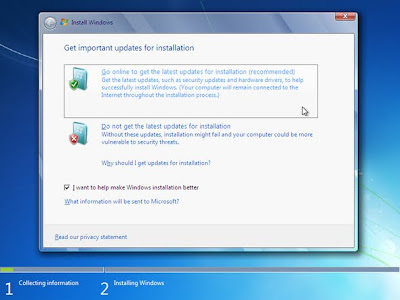
2. Before the install process starts, you'll be asked if you want to obtain the latest installation updates from an online source. This may save you some time later on and might also help with hardware compatibility out of the box, so go for it. (The "Make Windows better" box sends back some sanitized information about the hardware you're installing on, so the Redmond labs can get a better idea of who's installing Windows on what.)
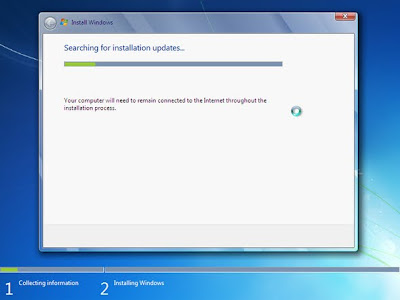
3. Depending on the speed of your connection and the amount of material to be downloaded, the installation update process may take a bit. On most machines this step should complete in just a couple of minutes.
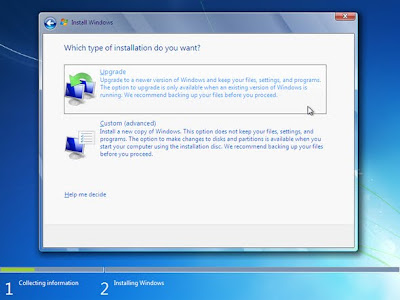
4. After the EULA, you can select an Upgrade or Custom install. If you're installing on top of an existing copy of Windows Vista, use Upgrade to preserve everything. (You'll be best off backing up your user and program settings with the Easy Transfer Wizard, just to be on the safe side.)
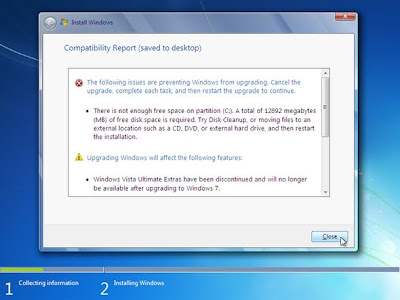
5. If there are any problems with performing the installation, you'll be warned about them before you can make any changes to the system. Now skip to step 12.
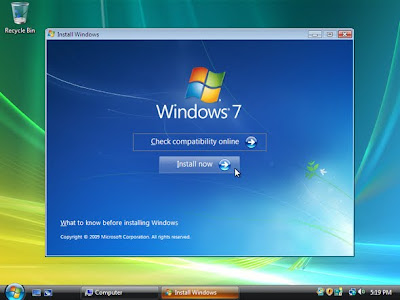
6. Boot the Windows 7 DVD. Or, if you think you're going to be running through the installation process a few times, copy the DVD to a flash drive and boot that. This speeds things up quite a bit - and if you have a noisy DVD drive, it quiets it down, too.

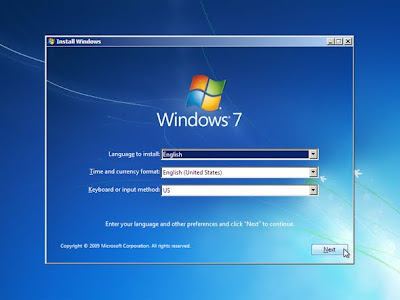
7. Click Next after answering the basic locale questions. Most of the time, the copy of Windows 7 you've bought will default to the country you bought it in.
8. After the EULA, you can select an Upgrade or Custom install. Note that you can't do an actual upgrade from booting the DVD; you have to boot your existing copy of Windows and then run setup from the DVD.

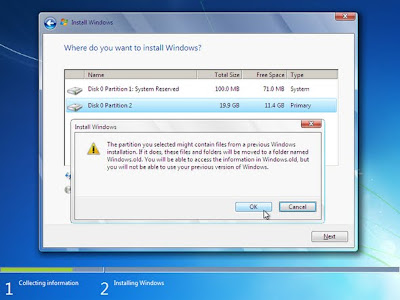
9. Pick a location for the install. Note that you can perform some basic partition manipulation here (delete, create, extend).

10. If you choose to install on a partition that has an existing Windows installation and don't reformat it, you'll have the option to back up that installation -- including your user folders -- to a folder named Windows.old. This isn't a bad idea, even if you already have a backup somewhere: you can always delete the folder later.
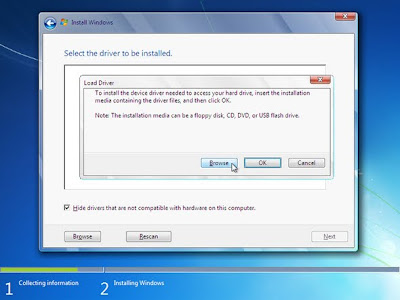
11. Odds are, Windows 7 will have mass storage device drivers available for your computer. If not, you'll need to provide them manually. CDs, floppies, and even flash drives can be used now to supply such drivers. Remember to click "Rescan" if you plug in a new device and it doesn't show up.
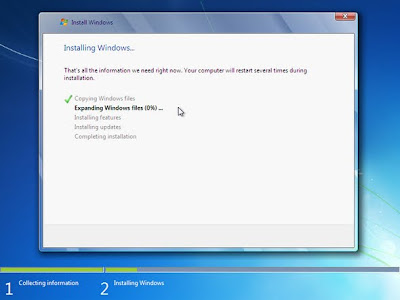
12. Click Next, sit back, and wait. The next steps are heavily automated -- unpacking the system image from the drive and configuring everything. Grab some coffee; this part generally takes about 15-20 minutes.
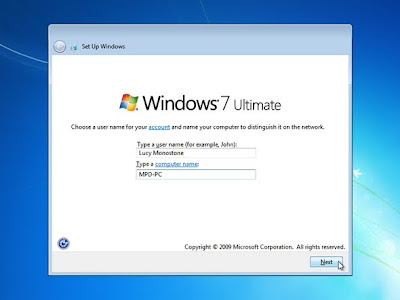
13. After restarting you'll be asked to create a user account and a password to go with it (in the following screen).
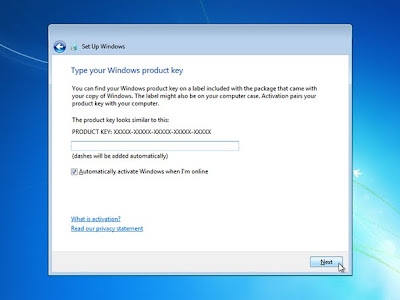
14. You don't need to enter your product key right now, but it's a good idea.
15. Grab the recommended updates as soon as possible. You'll have to spend a certain amount of time doing this anyway, so you might as well get it over with as quickly as possible.

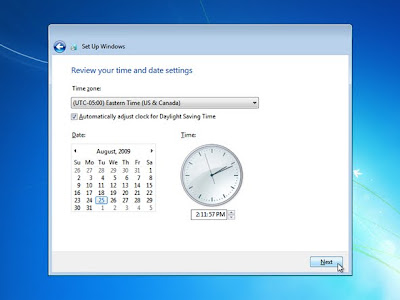
16. Set the time zone. Make sure to allow for DST adjustments if that's relevant to where you live.
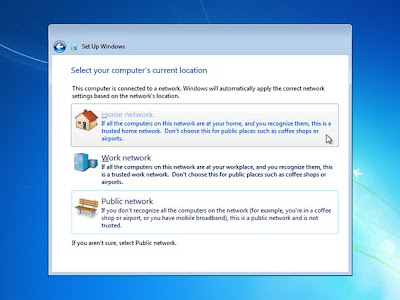
17. If you're hooked up to a network, you'll be asked to pick a network location profile. The three descriptions are self-explanatory, but Home is the most likely scenario.
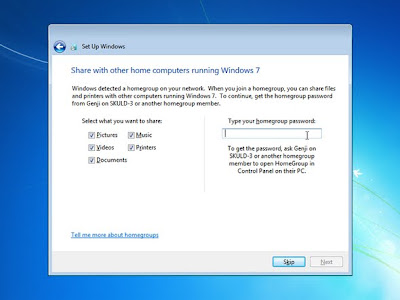
18. If other Windows 7 machines are present, you can join their homegroup. (Type "homegroup password" from the Start Menu to bring up the option to display the password; it's listed as "Choose homegroup and sharing options".)
19. If you haven't already, check to see if there are any updates available.
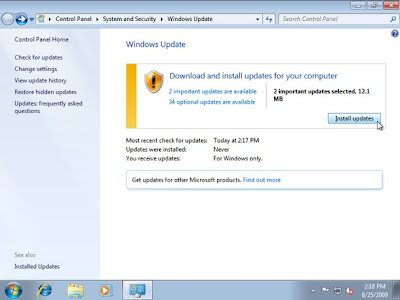
20. You'll get a few post-install nags about missing antivirus or other safety features, but for the most part the heavy lifting is over. From here on out you can install applications, migrate data, tweak the machine to your heart's content... and, most importantly, change the wallpaper.
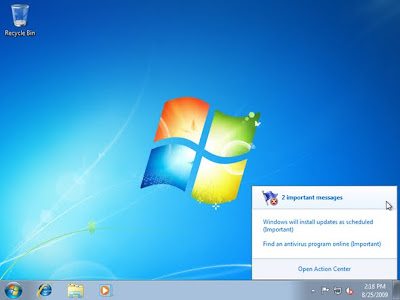
No comments:
Post a Comment